Paycheck Prepping

Paycheck 0: Before You Start Prepping

Stop & Take A Breath

Once someone decides to prepare they immediately tend to feel a sense of panic or urgency to get prepared and quickly. I think this feeling comes from the realization of just how unprepared they actually are. This feeling is normal and it tends to cause new preppers to make some really basic mistakes. I want you to slow down and realize the following before starting your year-long paycheck prepping journey. Even if you do not use my method of prepping you still need to really need to at-least read this!

Ten prepping Rules to Guide Your Preps

  1. What are you prepping for?

  2. What is your plan to deal with the above situations? Are you going to bug out or bug in?

  3. Write out your plan so you can review it and fine-tune the plan.

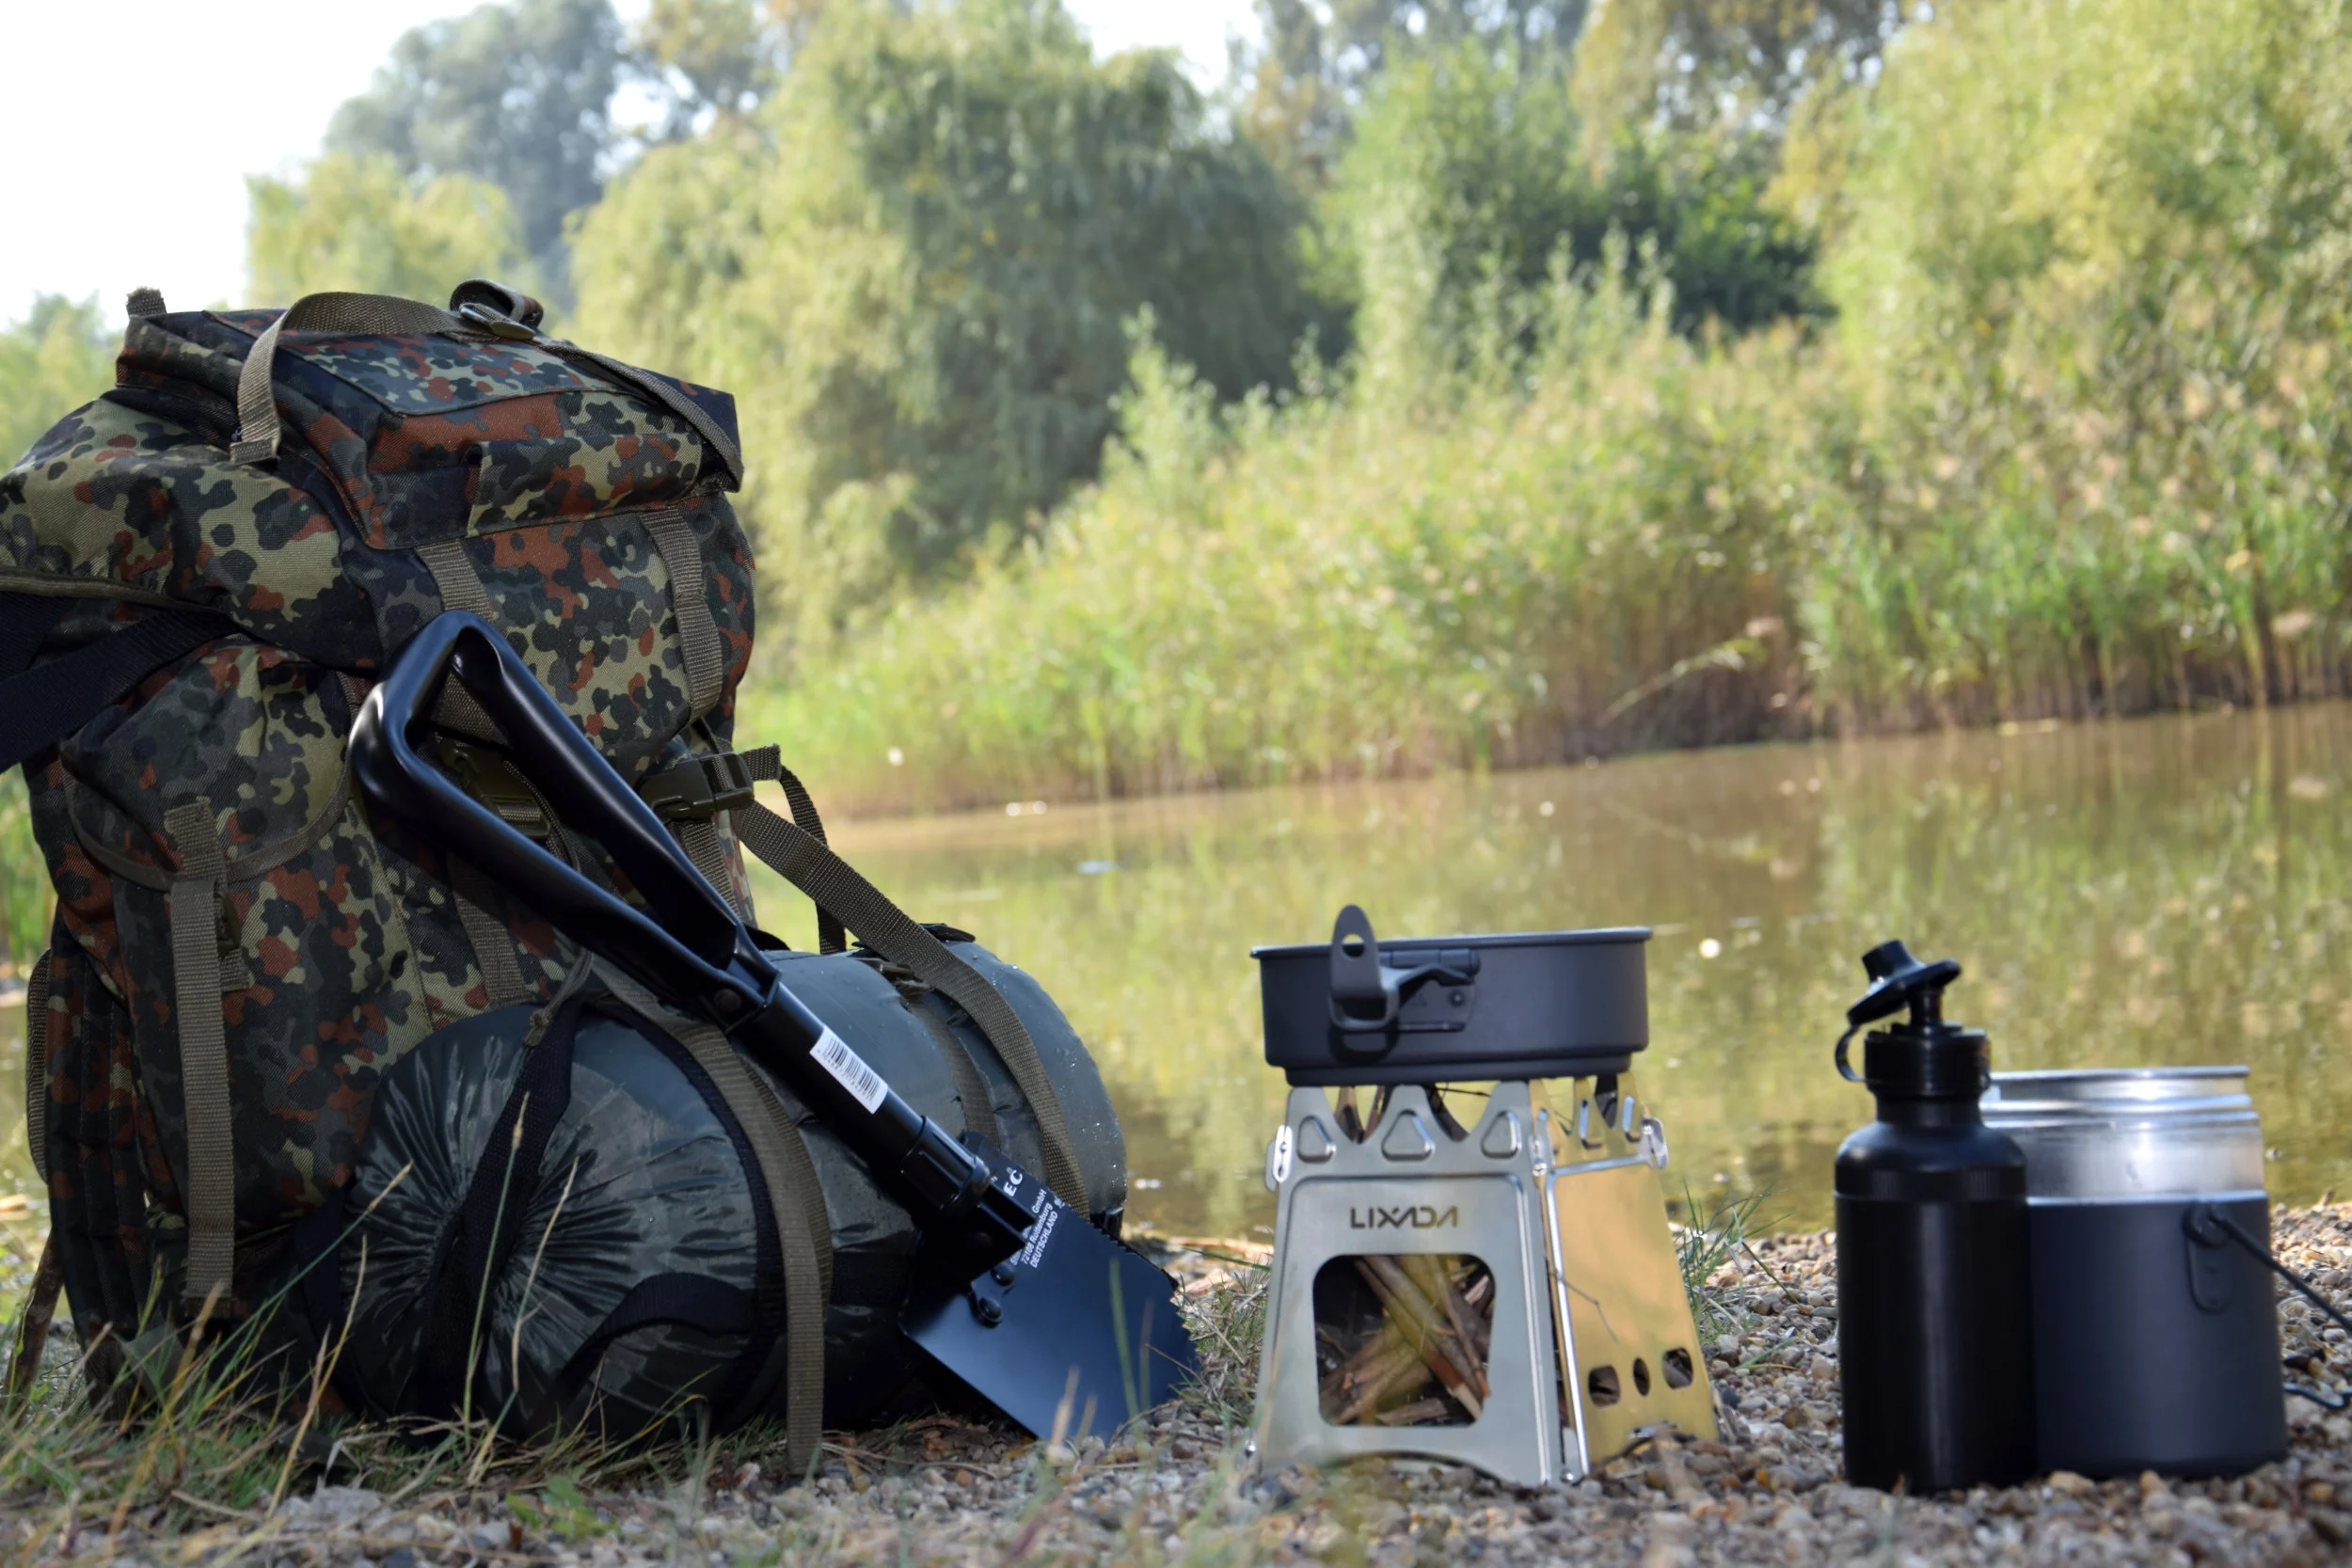
  4. Based on your plan what items are critical to buy so you can be successful at executing your plan? For example, if you plan to bug out by boat you may want to buy a boat. If you plan to bug out by car you may want to invest money into prepping your car and not fancy Back packs.

  5. Use this information to create a personal wish list to help guide your purchases. I have plenty of suggestions and it’s easy to get gear happy. Use this plan and wish list to help you prioritize your preps.

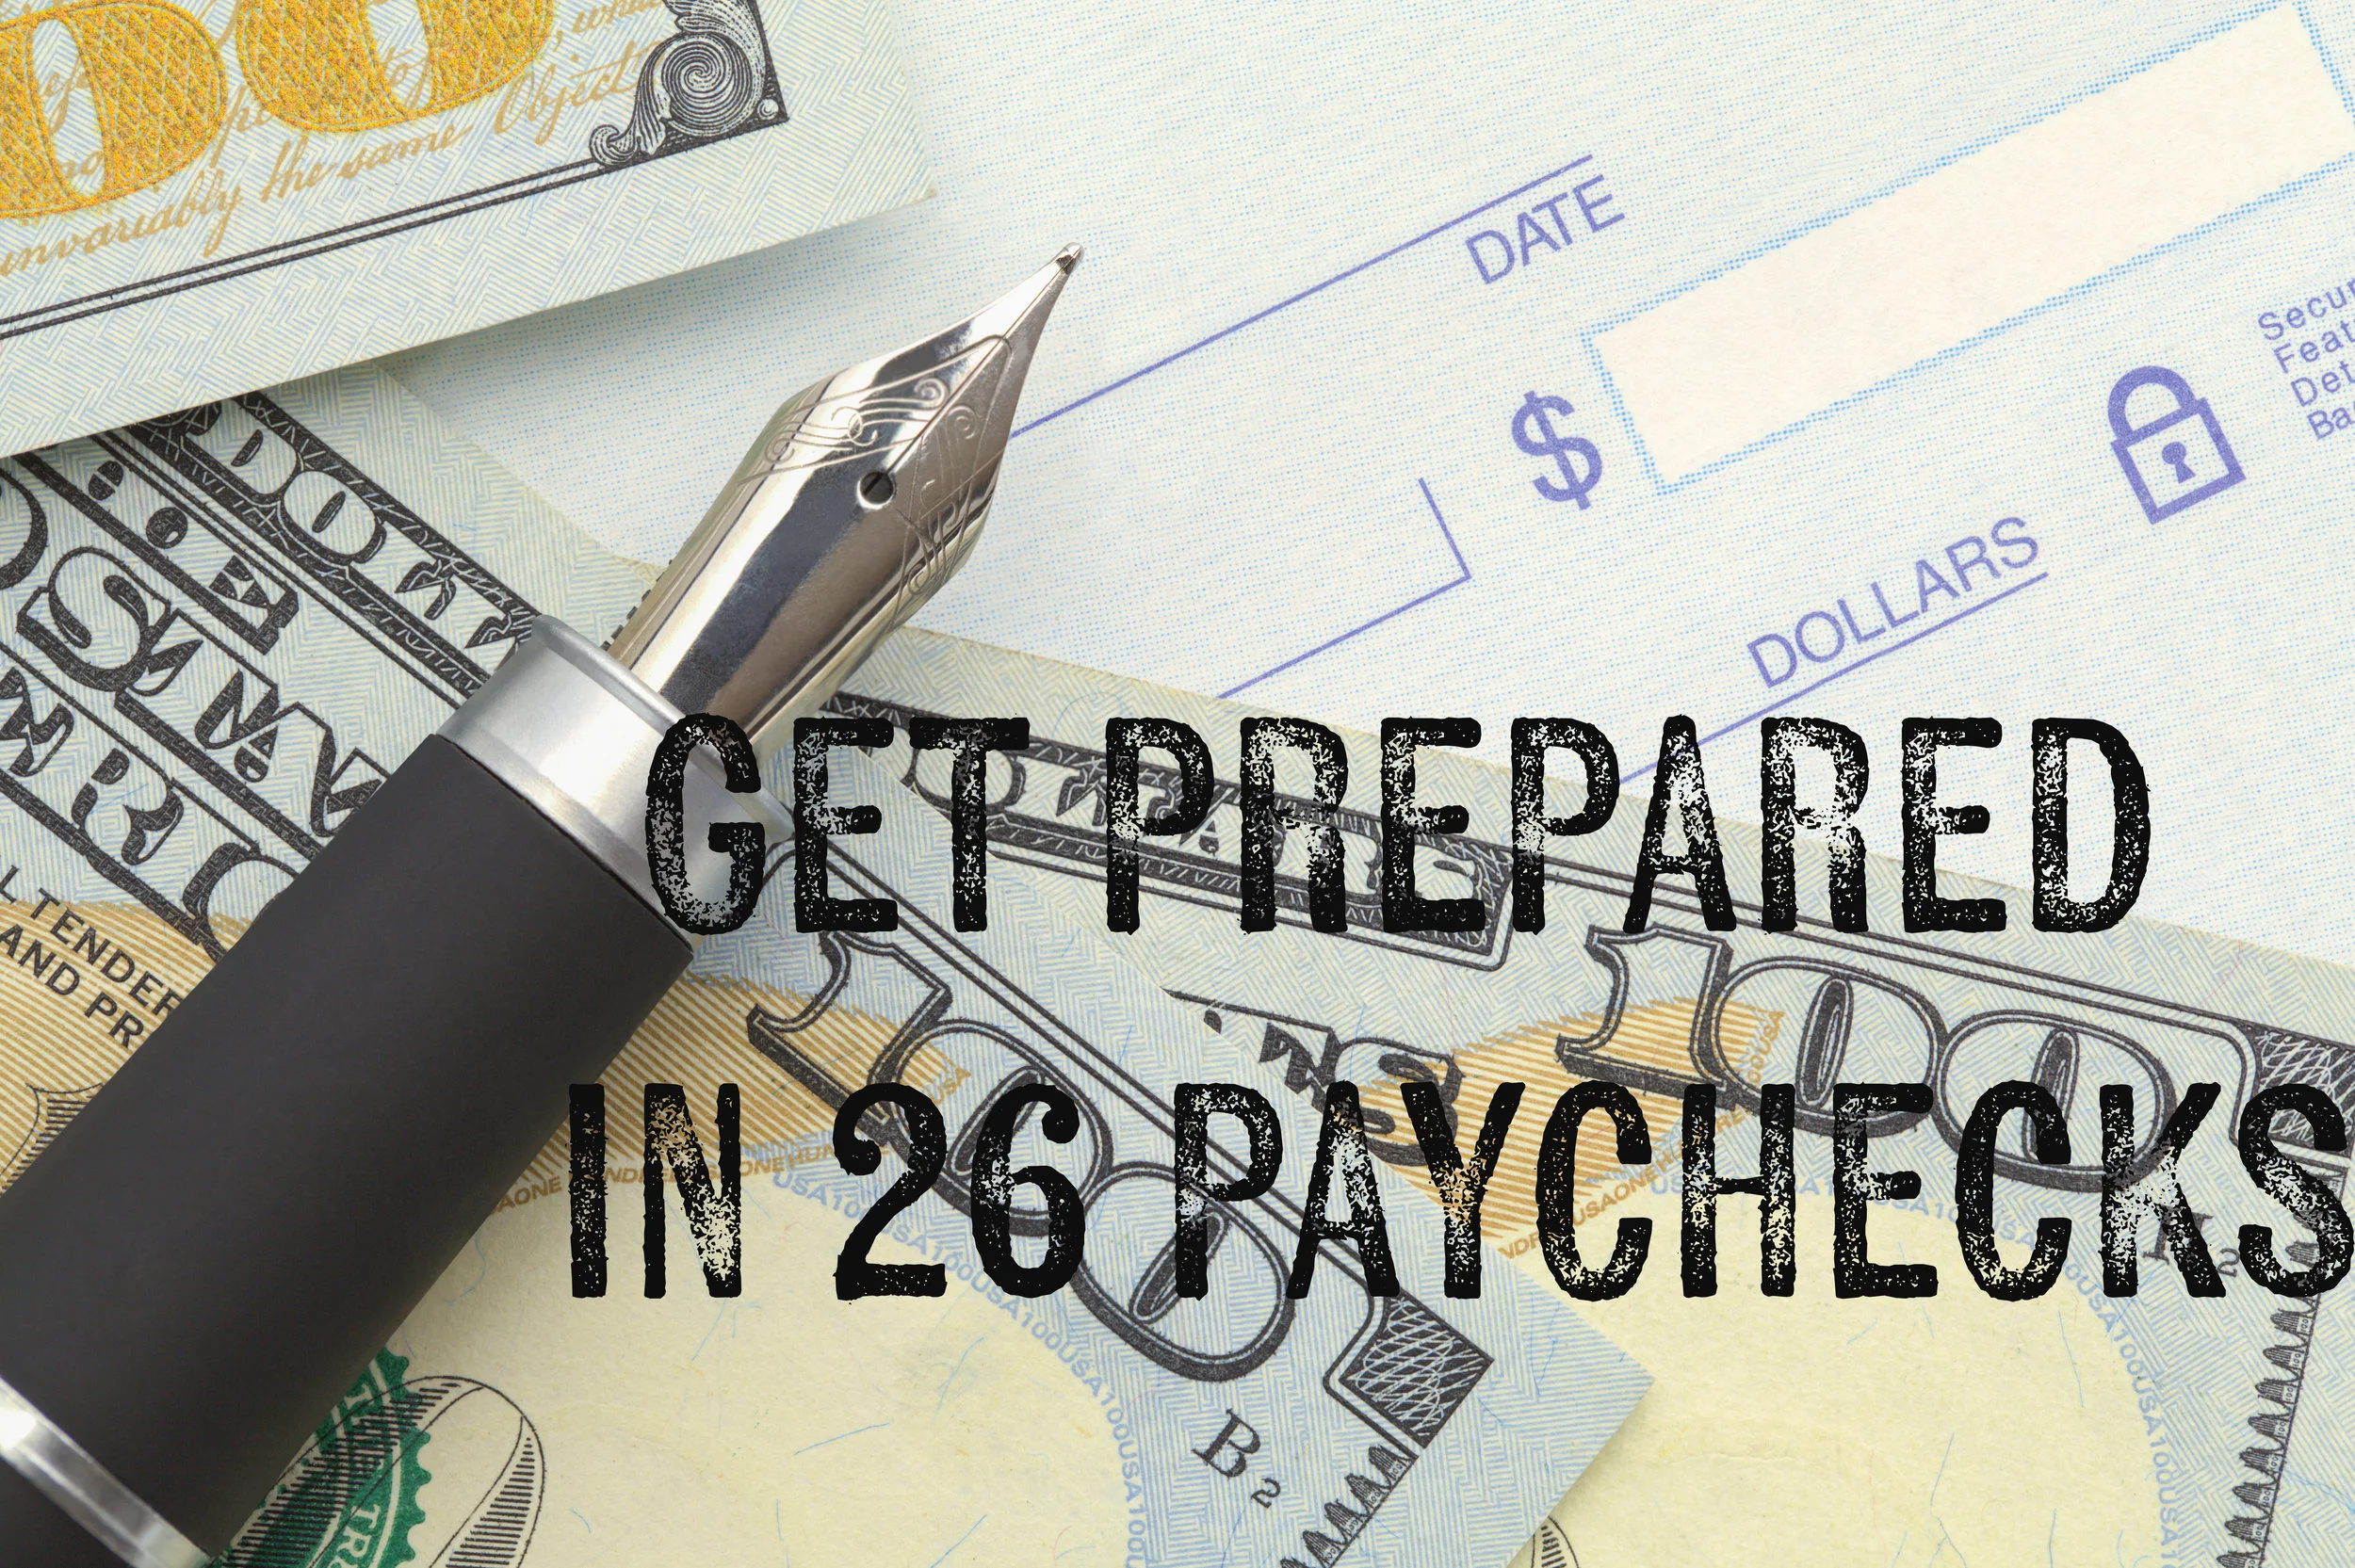
  6. You Can Not Buy Everything!!! You still need to be financially responsible and try to save a few bucks a paycheck as well.

  7. Develop survival skills and everyday skills that will help you execute your plan and to become more self-reliant. These skills are as important if not more important than most gadgets and gizmos!!! KNOWLEDGE WEIGHS NOTHING! Skills travel with you in every situation.

  8. Be flexible and adjust your plan constantly. Prepping is not made up of prep lists that you take a “set it and forget it “ approach. You need to constantly reevaluate, improve and take stock of your journey. Every-time you take a trip or take an inventory you will always find items or skills you are lacking. Take notes and make the needed adjustments.

  9. In your plan set obtainable milestones that lead you to your end goal so you stay focused. For example, if you want 2 months of food on hand so you can bug in after a natural disaster then set your first goal at two weeks of food, then a month and so on. Don’t build a bunker on day one!

  10. This is a longterm goal that can not be accomplished overnight focus on building a foundation of small goals and key items that help answer your needs for Water, Food, Fire, Shelter, health, and security first.  


How To use My Site & Paycheck Prepping Method:

  1. My lists and guides are here to help you stay organized and focused through your prepping journey. I hope you use these suggestions to become more self-reliant and prepared for life’s ups and downs.  

  2. All of my links lead to Amazon of which I am an affiliate, so I will get a small cut from Amazon for any of your purchases at no extra cost to you. The price is the price you see. Even if you do not purchase the item it is a great way to price check items at your favorite store with the price on Amazon and could help you save money.

  3. Very few people could afford to complete every suggested project or to buy every suggested prep on each list so create your plan and let that prioritize your preps. Take note of items or projects you would like to revisit on future paychecks.

  4. I have also posted Prep Lists throughout my site to give you multiple options to inspire you along the way. I have multiple lists for building a get home bag, EDC bag, Bug out Bag, Medical kits, Auto Kits, etc. I have multiple versions of each as prepping is a personal process and one list may speak more to you and your plan.  

  5. Sign up for my Newsletter and I will send you reminders every two weeks on payday to help you prepare and learn more. I will send you deals I get from my partners, post-how-to videos, and share projects that you can do to get more prepared. We are all busy and little reminders go a long way!

Show Me how to create a Prepping Plan

Paycheck 1-The Basic Preps

Paycheck 1-The Basic Preps

Here are a few of the basic preps you will need to buy with your first paycheck to get started on your prepping journey. Remember it's about the simple things first. You need water, food, and warmth.  That being said, you should  buy a few extra tins of food and matches before buying a year supply of long-term food and a wall tent for your back yard.  You need to crawl before you walk, so start small and grow over time.  Many of us are on a tight budget so it's an adjustment to buy those extra items until we see the true benefit in having a well stocked home store.


Preps: First things first:

If you just buy these preps alone you will be off to a good start.  These preps will give you the ability to filter water, stay warm, start a fire, boil water, and cook food for the first three days of your survival situation.


Pantry Preps - The Basics

Let’s Start Thinking About Your Pantry:

You need to always be on the look out for deals to stock your pantry.  Remember when you buy pantry items to buy the things you and your family actually eat.  A case of sardines will do you no good at all if people hate them to begin with.  There is no doubt that when faced with starvation or sardines you will choose to eat the sardines. 

Your pantry should be made up with items that your family enjoys so you can eat your way through the products to keep them for spoiling.  Your pantry should be looked at as an ever-growing and rotating home store.  Everyday goods should be your first priority as apposed to stockpiling two years of long-term food storage. Starting with your pantry allows you to ease your family and wallet into the world of prepping.

Every time you go to the store add a few items to your basket and you will be amazed how much you can accumulate over a short period of time. I made sure to point it out to my wife every time she wanted me to run out to the store for something basic like oil or salt that was already in our pantry. With in no time at all she was onboard with the pantry preps and bringing home extra with every shopping experience.

Take your time, create a menu, create a list, and slowly work through it!

Buy One 72 hour Food Kit

a few Pantry Ideas to get you started:

Your mission as a prepper now is to get prepared. A good practice a lot of us add to our routine is that we change how we shop. Every-time you go to the store be sure to buy a few extra supplies to add to your pantry. Pick out items that are on sale or cut coupons ahead of time so you save a few bucks. If you are going to buy a can of chili add a few extra cans to your cart, if rice is on sale buy a few bags. Stay away from buying foods that you and your family don’t tend to eat only buy what you can use. You can learn more about this strategy in our prepper project section or by clicking the link below.

Turn Your Pantry Into A Home Store

From this day forward you should always be adding to your pantry whenever possible…

  • Water: 1 gallon of water per day for each family member (The goal is to have a two weeks supply of water. Remember that having more water stored up is better than being short on your supply)

  • 2 jars of peanut butter

  • 3 cans of juice per family member (Kids) or flavored drink powders like gator aid or orange drink.

  • Electrolyte powdered drinks: these are great to rehydrate folks

  • 4 cans of meat per family member- Tuna, chicken, etc

  • 3 cans of soup or stew for each family member. ** Beef stew over rice is amazing!!

  • 3 non perishable items such as saltine crackers, graham crackers, etc. ( These do have a shelf life but the kids will love them)

  • Permanent marker: This is great to date products when you open them or write instructions on bags

    Basic Tools to think about:

  • Storage: You will need to organize this gear so you may want to hold onto a few empty boxes or buy a storage tub from time to time to put your gear in. Tubs can get expensive but look for deals at home depot and but them while they are cheap. People also use:

    • Garbage cans

    • Trash bags

    • Garage shelving

    • Closet shelves

    • Old luggage

  • 1 hand-operated can opener: Remember 2 is better than one these things break

  • Flashlight with alkaline-batteries or a hand-crank flashlight for each member of household that is over the age of 6.

    • Don’t forget extra batteries for the flashlights!

    • Flashlights should also be purchased for each car, as well.

  • Batteries in multiple-sizes.

  • Heavy rope or Paracord

  • Duct tape

  • Bic lighter

  • Matches- to be stored in a waterproof container

  • Multi-tool

    Additional supplies for infants or elderly:

    • 2 weeks worth diapers

    • wipes,

    • children’s medication,

    • formula,

    • protein/calorie drinks

    • Prescription medications,

    • extra pair of glasses


Survival Library

survival-theory-book-300x300.jpeg

You need to start building a survival library of knowledge.  Remember that knowledge weighs nothing and you will be able to take that with you to any bug out location.  My first recommendation is "Survival Theory by Jonathan Hollerman and you can read my review of his book here.

In Short, I recommend this book because Hollerman takes you through the common reasons for prepping, laying them out in easy-to-understand ways and providing evidence to support these theories—all while underscoring his primary theory that we should all be preparing for an upcoming grid-down scenario.  Also he reviews gear and challenges you to really start thinking about the journey of preparedness. Also if you have a significant other that is not on the same page this is a great book for them to read to open them up to the realities of the world of prepping.

Buy A Copy Today

Prepper Projects

  • Money: Set aside money for an emergency cash fund. Make sure to have your money in small bills as people will be less likely to make change after the SHFT. Again, set aside change every chance you get and over time you will build this SHFT cash fund up.

  • Barter Goods: Find a few light weight products to have for barter, For example; coins, tampons, booze.

  • Emergency Plan: Make a Family Emergency Plan and decide what types of disasters you are planning for (war, natural disasters, economic or personal disasters etc)

  • Contact: Decide upon an out-of-area contact who can coordinate information with friends and family members during emergencies.

  • Once you pick your out-of-area contact be sure to email or call them and provide phone numbers and names of family members for them to call

  • First Inventory: Date all perishable goods with a marker. I know that most items have this date for you to use but it fades over time and this is a great way to get familiar with whats in your pantry. You may be surprised how out of date your food storage currently is. Expiration dates are suggestions made by the manufacture so they will still be safe to consume, however with your pantry goods your goal should be to use the restaurant idea of first in first out when it comes to your inventory. Keeping it fresh and rotated means you enter an emergency with the longest shelf life possible on all of your supplies.


Prep Like A Pro:

Remember this is not a race!!!

  • If you can't afford everything now just keep an ongoing list of items you need to still buy. You can watch amazon, Ebay, and stores for discounts or specials to save you money in the long run.

  • Read our articles on building your bug out bag and creating your EDC (every day carry bag).

  • Learn how to use subscribe and save on Amazon to help build up your preps.

  • Create Wish Lists on Amazon of products you want. As you check in on your list they will tell which items have increased or decreased in cost. It’s a great way to find deals!

Suggested Videos To Help You Plan Your Bug Out Bag:


For More Videos Check Out Our Channel

Paycheck 2- Prepping Basics Part 2

Prepping Basics Part Two

It is always important to make sure you stock up on the prepping basics. Often times people think of prepping as buying bags covered in molle and creating a large weapons cache. However, prepping is all about having in abundance those daily supplies you will need week after week.

After food, water, and shelter you need to have ample back ups to your daily essentials. There is nothing wrong with roughing it and getting down into the mud of survival. If you can have basic medicines, tools, and a few extras then maybe you might be a little more comfortable when the SHTF happens.


Basic Medical / Sanitation:

Basic Tools:

Survival Library

This was one of the first books I bought as a new prepper. It opened my eyes to how vulnerable my family and I really were. It laid out easy ways to improve one’s security and I have started to carry out the changes to my home. The great part about this book, is that the basic steps we need to take are relatively easy to do over time and on almost any budget. This is a must read!I think is an important book to grab in your first few paychecks as there is no point in filling your homes with preps only to leave your front door open. Becoming familiar with security needs around your home or bug out location is a crucial step in your journey as a prepper. This touches on all the basic ideas of how to look at and define your security needs.To learn more about this book take a look at our review found here.

Buy Your Copy Today


Prepper Projects:

To bug out or to bug in? This is a question that deserves some real consideration as it will guide a lot of your purchases on the go forward. There is a lot of divide in the prepping community with die hards swearing by one choice or the other. I prepare to do both as I appreciate having options and the flexibility it provides my family. You can read about that here.

EDC Gear: (Everyday Carry) This is a right of passage for preppers and can get very expensive so stay focused and start small (Pun Intended). A lot of the gear I am suggesting you will add to your edc pack in the future. For that matter a lot of your gear will find it’s way into many of the packs and bags you will build over your journey. The important thing is to start learning about EDC gear so you can plan your approach. I started with the following gear:

  • Paracord Bracelet

  • Folding knife

  • Flashlight

  • Tactical Pen

A few odds and ends are better than nothing and all of these tools can come in handy in everyday life. Don’t worry before you know it you’ll be a walking tactical gear junkie!

Personal Documents: Start Organizing important documents in-case of an emergency. Here I believe in redundancies and Stress the importance of being safe with your important information. Depending on your risk tolerance you can choose what works best for you.
I have printed multiple copies of my crucial paper work and placed them in zip lock bags. In order to keep them safe I took those and locked them in a fire-proof bag in a fireproof safe located off site. Furthermore, I also uploaded scans of them to my dropbox so they are accessible if the grid is still up and running. I have also stored them on my survivor thumb drive . I keep my survivor drive in my go bag so I will always have it on me.

Some important documents to organize are:

  • personal ID

  • security card

  • I.D. cards for the kids

  • proof of residence

  • insurance information

  • medical records

  • bank and account information

  • life Insurance

  • Pets medical records

Prep Like A pro:

Remember this journey is not a race, you should buy what you will you use and what you don't have. I recommend that you print these lists out So you can highlight them with different colors to illustrate What you have on hand and what you still need to purchase. This will allow you to come back to these lists when you have few extra bucks and buy the items you passed over the first time.
If you stay organized you can avoid simple mistakes and oversights.


Paycheck 3- 72 hour Preps & Your Get Home Bag

Your Get Home Bag


72-Hour Of Preps On The Go!

When the storm hits and the lights go out, you need to make sure you have enough food, water, and key preps to keep your family safe for a minimum of 72 hours.  The list below is a small list  to get you started, depending on your budget you can always come back and buy some of this gear later.  For example, I bought my family bags one at a time over  the entire year. A good bag will run you $80-$150  so plan on buying one every few months depending on the size of your family.  Some items you may already have in storage.  So before you go out and buy all this stuff take a good inventory of your supplies and get creative!

Bag Selection: Size Matters

If the prepper bug has you then let me put your mind at ease you will never be satisfied with only one bag! Through your journey you will change bags and down size all the time. The important thing is don’t buy cheap buy stuff that will get the job done. My other suggestion is to buy a bag that is not so big that it allows you to carry the world on your shoulders. A 72hr bag or a bug out bag is meant to keep you alive for a few days while you get the heck out fo dodge!!! You do not want your bag to slow you down.

Where Are You Going?

This is a really important question for you to answer before buying all of your gear. Are you really Bugging Out to a secure location? If so where and how will you get there? What kind of obstacles may you encounter along your way. What are the bare essentials you need to get to your location alive? This is what should go in your bag…to read more about this check out this article.

Here are a few of my favorites:

  1. 5.11 72 hour rush bag

  2. Hazard 4 Grayman Pack

  3. Direct Action Dragon Egg Backpack

  4. Multiple Bags from Patagonia: These are great gray-man options as the packs do not look tactical at all for example: Patagonia Refgio 28L Backpack

Why Start Small?

You need to be agile and get where you are going. The goals is that you have what you need to survive while getting as far away from danger as quickly as possible. The smaller the bag the more selective on gear you will have to be. In the beginning this is really good protection against a gear happy prepper on a shopping spree. Also If you want to go bigger in the future you can turn this bag into an office bag, an auto bag or gift it down to another family member. You will always fine-tune and change your gear up…so start small and get a bag put together so you are covered until you learn more.

The Basics:

For list of bug out Gear

Bonus Prep Idea:

Prep Your Pets

If you have pets you need to think about prepping for your them!  You need to make sure you have enough of  your pet's essentials to get them through at least the first 72 hours of a disaster. Make a list of the preps you need and be sure to keep all of those items on hand.

Survival Library

The Preppers Cook Book is a great resource for people starting to build up their survival pantry.  Tess Pennington is a blogger and authority on self-reliance, you can learn more from her by checking out her blog Ready Nutrition.This book not only helps you to better understand how to create a survival pantry but also illustrates how a pantry can be used to save money and create amazing meals for your family on a daily basis.   She also supplies you with a ton of pantry recipes for everyday meals and Jared meals per-assembled in a jar.A Pantry is a life saver and can help you and your family to avoid food fatigue during an emergency or a hard financial time.  That being said, a pantry can also be a money suck and the land of spoiled out of date items if you're not careful.  Learn from a pro a build your pantry right the first time!  This book is a great place to start. 

Buy Your Copy Today

Prepper Projects:

1. Create an evacuation plan including an emergency meeting area for family members, multiple evacuation routes, a list of emergency phone numbers.  

2. Start to assemble Your 72 Hour Bags.

3. When your bags are packed place packs near an emergency exit or in an easy to access area.

4.  Discuss the evacuation plan with your family so everyone knows their roles in it.  Discussing these ideas a head of time with your children will help them be a little more comfortable when it comes time to bug out.


Prep Like A Pro

You won't believe how light this bag is! Former Army Ranger and Green Beret gives you a look inside his personal go-bag. In addition to seeing the packing list described in this video, you will see exactly what brands and items he chooses for his own emergency preparedness (plus alternates).

Remember your 72 hour bags can hold many items, just start one with this paycheck and add to it as you can afford to in the future. You need to realize that a 72 hour bag is just meant to keep you alive for 3 days and it should not be confused with a bug out bag.  People often put far too many items in their 72 hr bags which defeats the purpose of having a lightweight bag with the basics that can assist you in getting home to your supplies. 


Tools and gadgets are great but know how to use them, practice now so you can have success when it counts.
— Urban Prep List

Paycheck 4- Secure Your Home

Secure Your Home


As we build our preps up, one is often left wondering about security, and how we cannot only protect our families but also our preps.  Securing your home and bug out locations is a very important part of prepping.  Ultimately keeping your preps to yourself or a select trusted group of fellow prepper's is one of the best things you and your family can do.  You will here preppers talk about OPSEC or operational security all the time.  OPCSEC is all about being smart about your planning, maintaining a low profile, and protecting the greater good of the overall operation.

 If people think you don't have anything to offer when the SHTF hits, then they will move on down the road after the next promising or easy target.  Besides practicing good OPSEC, you should also think about creating layers of protection around and in your home.  A great book on securing your home is Prepper's Home Defense by Jim Cobb.  This book takes you step by step through strengthening your home into a secure place for you and your preps.


Preps To Secure Your Home

  • Window alarm systems.

  • Pepper spray

  • Combination or key locks for the backyard fences.

  • Infrared (IR) floodlights to illuminate the property (These can be motion-sensor activated).

  • Ensure that your doors and locks are reinforced.

  • Purchase a gun of your choice ( if you want a gun, please follow all laws and seek out training. Also store weapons in a safe manner away from children. Although this is our right, we must respect it responsibly). If you can't afford one put whatever you can aside towards purchasing one in the future. Remember to buy once and buy right!!

  • Ammo- start your collection. I recommend a box or two to start. Put a way a few bucks every paycheck until you can buy bulk ammo for better deals. My goal is 1000 rounds per gun

  • Baseball bat


Survival Library:

"A comprehensive guide to gun options as well as non-lethal and homemade alternatives needed for neutralizing attackers after a catastrophic collapseA massive disaster strikes. Civilization breaks down and with it goes the thin blue line of police protection. Days or even weeks pass before the National Guard arrives to protect law-abiding citizens. In the mean time, it's every man, woman, and family for themselves. Having self-sufficient means for protecting your family at this critical moment is essential. Thankfully, Prepper's Armed Defense details exactly how to achieve this high level of life-saving readiness.Far more than a gun guide, Prepper's Armed Defense is the most comprehensive, no-holds-barred guide to all type of weapons, including knives and other edged weapons; non-lethal weapons like pepper spray,tasers and stun guns; plus last-minute improvised weapons made from common household items.Among the weapons covered:

  • Firearms

  • Knives

  • Brass knuckles

  • Bows

  • Blackjack and sap

  • Monkey fist slungshots

  • Clubs and batons

  • Tonfa and other martial arts weapons

The legalities of self-defense are also discussed as not all encounters will take place after a societal collapse.  From the proper way to relate the information to a police dispatcher to when you should call an attorney, the focus is on ensuring you don't end up behind bars for protecting your loved ones." - Sourced from Amazon

Buy Your Copy Today


Prepper Projects

1. Create an emergency protocol and discuss it with your family members. Be sure to include a list of emergency phone numbers and escape routes.

2. Create a safe room where family members can retreat to if there is a break in. Ensure that the safe room has a phone line, and if you have a gun in the home, ensure the gun is in that room. Please make sure that the gun is locked and put away so small children do not have access to it.

3. Install some outer preventive layers:

  • Ensure your doors are strong. (A hollow-core metal or solid wood door is best.)

  • If your doors are composed of glass, install a double cylinder lock to reinforce the strength.

  • Install 1-inch deadbolt locks on all exterior doors.

  • Install locks on the back fences.

  • Infrared (IR) floodlights to illuminate the property (These can be motion-sensor activated and solar so they operate even off grid).

  • Put a peep-hole in the door.

4. Install some inner preventative layers:

  • Burglar-proof your glass patio doors by setting a pipe or metal bar in the middle bottom track of the door slide. The pipe should be the same length as the track and try painting it the same color as the track so it’s not obvious.

  • Put an anti-lift device in your windows. Battery operated ones will continue to work even if the grid goes down

  • Look into an alarm system for while the grid is still active

  • Position hidden web cams strategically throughout your home.

  • Sign family members up for a self-defense course.

  • If you have a gun, go to gun range. The only way you will be an accurate shot is if you practice on a regular basis.


Survival Library

Prepper's Home Defense: Security Strategies to Protect Your Family by Any Means Necessary

As always, we need to be smart when we prep, get creative in how you achieve your goals and always keep an eye on your budget and your master plan.  Going broke before the SHTF will not help anyone.  Even if you do only one activity or buy only one prep a paycheck, you will still be more prepared than you are now.  This is a way of living and a mindset that grows with you over time.If you didn't get this when I suggested it before I will remind you one more time to read this book!

Buy On Amazon


Paycheck 5- Sanitation & Medical Preps

Sanitation and Medical Preps


Disease and bad sanitation have killed more people than all the wars in history put together...ok I do not have a stat for that, however, it is safe to say life expectancy has increased through our sanitation efforts.  Look at how much structure our society has put into plumbing, waste removal, and cleaning products.  So what happens when the plumbing shuts down and the garbage trucks stop coming?  What happens when the doctors are gone and the pharmacy is closed down?  Will you know how to treat basic illnesses?  Will you know the best practices for dealing with human waste?


Sanitation Preps


Medical Supplies


Prepper Projects:

  1. Create a sanitation kit.

  2. If you are preparing a sanitation kit with infants in mind, ensure that you have accounted for their short- and long-term needs.

  3. Familiarize yourself with different methods of handling the sanitation problems that arise during short- and long-term emergencies.

  4. Create a first aid kit. Ensure the kit is situated in an accessible location.

  5. Take a basic first aid class, if you have not done so already. The Red Cross has great resources for you to make this happen.

  6. Purchase a first aid manual

  7. Download When there is no Doctor and When there is no Dentist and print out copies of both books or you can buy them on Amazon


Survival Library

For more viedos check out our Youtube Channel

Paycheck 6- Dental Health

Dental Health


Dental Preps:


Prepper Projects:

  1. Go to the dentist and get an annual check-up and cleaning.

  2. Begin brushing your teeth for at least 1-2 minutes, floss at least once daily,

  3. Practice better oral care now to prevent having issues in the future, nothing hurts more than tooth pain


Food Projects

  1. Date perishable goods with a permanent marker.

  2. Find a storage area in the home where emergency food supplies can be placed. Think outside the box! ( Under beds, in a hall closet)

  3. Start clearing out the junk and reorganize your cabinets. It is amazing how much room you can create if you just take the time to plan it out. Word to the wise don't through out anything that could be a useful prep!

  4. Organize your pantry and begin creating an inventory list of the items you have according to categories

Reminder To Prep That Pantry

  • 1 gallon of water per day for each member of the family (i.e., 1-2 weeks worth).

  • 2 bottles of juice per family member

  • 2 canned goods (e.g., meat, veggies, soup, and fruit) per family member.

  • 1 each of the following food condiments: Peanut butter, jelly, honey, mustard, ketchup, BBQ sauce

  • 2 drink mixes/tea/coffee per family member

  • Spices (e.g., salt, pepper, taco seasoning, apple pie seasoning, etc.)

  • 1 gallon of cooking oil

  • 2 each of the following pre-packaged foods: beans, dried peas, rice, noodles, oats, grains, cereals and pasta

  • 2 bags of flour (Note: Those of you who have wheat allergies, click here for alternatives.)

  • Ramen noodles

  • Powdered milk

  • Powdered potatoes

  • Infant Formula –Even if you don't have a baby this mix can offer a much needed immunity boost! If you prefer not to buy this formula think about ensure or other powdered shakes to help supply you with nutrients and vitamins.


Paycheck 7- Medical Supplies & Prepper Education

Medical Supplies & Prepper Education


Education For Prepper's

Medical Preps


Suggested Projects

1. Re-examine emergencies and disasters you need to prepare for.

2. Take some time and brainstorm potential disaster scenarios you may face and how you might want to deal with them.  By defining what it is you want to prepare for, you can further define what preps you may need to prioritize.

3. Start learning new skills that will help you on your path to becoming more self reliant:

  • Fire making skills

  • How to filter water

  • How to garden

  • First aid

  • How to build shelters

  • Hunting

4. Create a first aid kit for your home, Office, or Bug Out Bag.

5. Start To get into shape

6. Practice basic first-aid 

Sign Up For First Aid Training

Prepper's Pro Tip

Building a medical kit can be a large task when building it piece by piece.  Try to buy a few different basic kits to get you started.  A great one for your bug out bag, car kit, and even your home is theAdventure Medical kit.  This is both affordable and compact.  Get started here and add pieces as you move forward in your prepping journey.

For More YouTube Videos Check Out Our Channel

Paycheck 8- Survival Tools & Water Preps

Survival Tools & Water Preps

Preps To Buy


Water Preps

  • 1-gallon of bottled water for each family member

  • Secondary water filtration system

  • Water purification tablets

  • Bleach (Bleach only stores for 12 months, so do not buy large quantities of this item unless you plan to use it for other reasons.)

  • Chlorine granules (available at most super stores or pool stores)

  • Iodine

Bonus Preps


See more videos on my YouTube Channel

Prepper Projects:

  1. Take inventory of what you already have in your medicine cabinet. Get rid of the things that are way out of date and create a list for items you are missing. The cheapest way to prep is to buy right and buy once!

  2. Look up a few classes on the Red Cross Website or search for local classes to learn basic first aid.

  3. Create a list of tools that you use that require power and see how you can replace them. For example a drill can be replaced with a hand drill or an electric can opener with a manual can opener.

  4. Finish Your Family Plan: What are you going to do if there’s a fire, a flood, or an earthquake? Where are you going to meet up? What are you going to bring with you? Make a plan and get everyone on board. You can learn more about creating your plan here

Paycheck 9- Food Preservation

Food Preservation

Food is a huge part of our lives  both for nourishment and social interaction.  food brings us together and can ultimately tear us apart.  A hungry man is a dangerous man.  This is why it is crucial that you start learning how to preserve food and how to store it safely.  If you are going to take this mission on you will need to read books, watch YouTube videos, and learn from someone that knows what they are doing. 

It's not rocket science so don't shy away from it.  You just need to make sure you follow proper guidelines and techniques when handling and storing food.  The entire point behind prepping is to stay a live so don't let your own preps kill you! On a positive note, food preservation is a fantastic skill to have and it is very fulfilling.  I love eating a pasta sauce on a cold winter's night that came from my summer garden! So go out and grow it, hunt it, and then preserve it!


Preps To Buy

Pantry Preps


Prepper Projects:

1. Research: Begin researching and finding resources to have on hand for the different food preservation methods. There are some great resources for preserving food on different homesteading websites and even homesteading magazines. Check Out Our YouTube Channel for suggested videos!

2. Food Preservation: Practice makes perfect! So, start practicing today. You need to learn about canning and growing food.

3. Garden: Start a garden so you can grow food to preserve for later use. If you’re limited on space try the Square Foot Garden Method!

4. Food Storage: ind a safe, dry area in the home to store your longer-term food supplies. Those who are tight on space can use creative methods such as shelving units high in their closets, extra bedrooms, under the bed or closets. As long as the space is dry, is free from temperature fluctuations, and is large enough to store the food it will work. It is best not to use a garage or attic for a food storage area due to the drastic temperature fluctuations that occur in these areas of the home.

5. Food Supply: Make a list of what types of long-term foods you plan on storing for your long-term food supply. Those that have family members with special dietary needs should do further research on which types of foods they will need.

6. Practice using your food storage tools on short-term foods to ensure that you understand how the  tools work. If you have leftovers use your food sealer to store them for later use. Dehydrate meats into jerky or preserve fruits in a dehydrator for latter use!


Prepper’s Tip

Where To Purchase These Products?


View More Videos on my YouTube channel